How good fit nearly broke me and other stories

Oh woe, oh woe.
The last few months have been an unutterable fetid quagmire of sewing angst.
The tears.
The perishing of treasured fabric.
The stupid dumbass entry level mistakes.
A sudden inability to make anything that actually fits me.
Little mechanical failures that all fed into a total stuttering of the sewing juggernaut. I hasten to add I liken not my sewing prowess, or evident lack of it, to a juggernaut, but how the space that sewing takes up in my life resembles one. And it ain't always a positive use of such a significant amount of space.
And then something happened. Maybe it's the hope and excitement of spring. I sat down at my machine and conjured up two things that I will actually wear. And these two things are up there with most favourite things ever sewn.
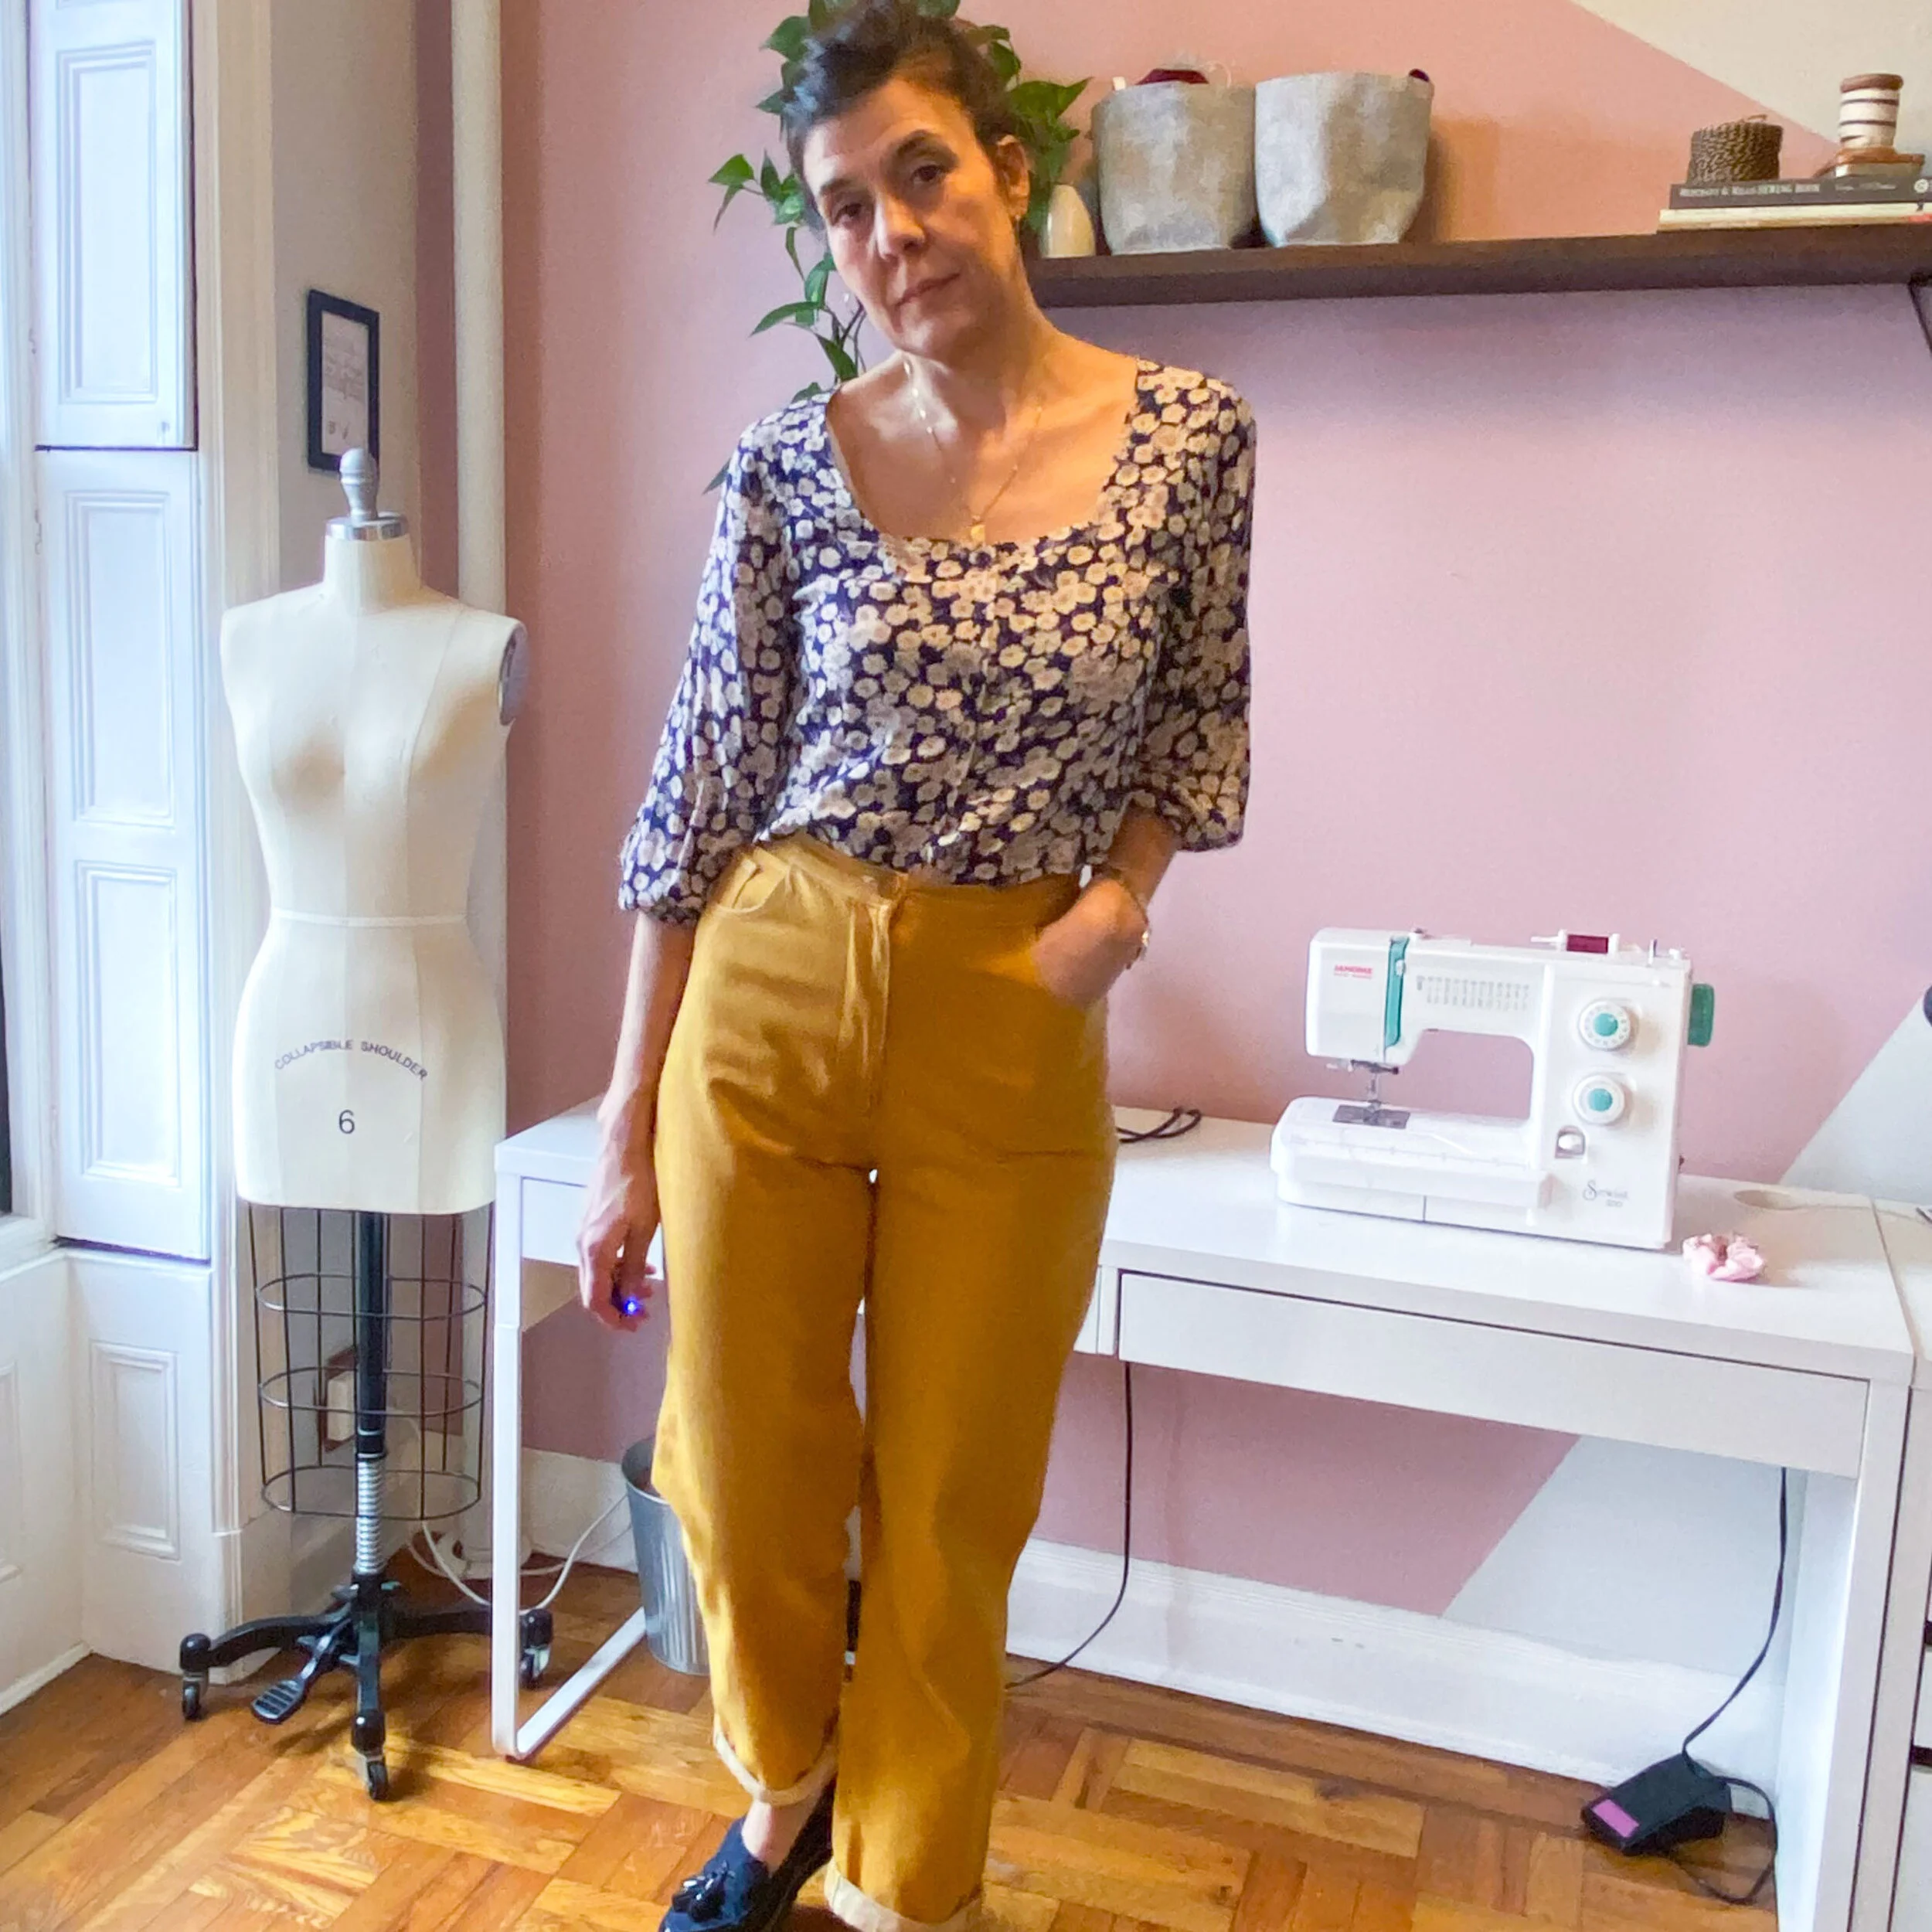
I have had an absolute mare with poorly fitting finished things recently and was determined not to waste this beautiful burnt orange denim that I acquired from The Fabric Godmother.

But I was stuck, I seemed to be in this loop of being so worried that things would be too small for me that I was making things far far too big. "Oh, that's easier to fix than things being too small," always being my mindset. But actually it isn't always and especially in trousers.
To be honest, I was all set just to shelve sewing for this year, take myself away from Instagram and blogs and all the torturous images of my sewing heroes making all the beautiful clothes, and just go and buy a bunch of RTW and be done with it.
And then I read this post by the wise Thrifty Stitcher and I found it SO SO SO helpful.
I have read on numerous occasions that one should compare clothes ones likes the fit of to finished garment measurements and that will help determine the size to cut. I have also read on Closet Case Patterns numerous times that in pants fitting small, small incremental changes is the best way to get a good fit.
But neither of these things had ever really connected before.
So, inspired by the Thrifty Stitcher post I did some more research on ease; rued the fact that so few patterns have finished garment measurements nowadays. I don't really understand why. Surely those figures are much more useful in understanding how something will fit you and how you want it to fit than the actual body measurements even? Then spent some time retaking and noting down my measurements and then measuring some of my favourite self-made and RTW clothes and noting down key measurements from them.

As part of this I took a pair of trousers I made in the fall which I like, although the fit isn't great, and used that as guide for what my best fit would be in future pants. I spent a really really LONG time measuring myself, the pattern pieces and my other trousers and looking at Heather's pants fitting guide and then realised that I ALWAYS over compensate in the crotch area. (That is a very odd sentence and also shows a complete confusion as to what to call those things you wear over your legs that aren't skirts - it seems three and a half years living out of the UK plays tricks with ones vocab.)
I have a large curvy bottom and need to adjust for that, but the the changes I need to make, well, basically, like a decent moisturiser, a little goes a long way.
I usually add to the front crotch and then get frustrated by the extra fabric bunching around there. This time I left the front pant pattern piece completely alone and just added half an inch at the back crotch curve and at the centre back waist. I think what I've failed to realise in the past is that even such seemingly small changes are adding one whole inch to the rise, which was plenty enough to make these comfortable.

I also added 2 inches to the leg length.
The other big change I made when constructing these was to sew the pockets and then baste everything else to check the fit before committing to fancy seams etc. This was SUCH a good use of time. Everything fit really well, I just made small tweaks to the front crotch curve to make it fit a little closer, but literally 1/8 inch.
Pantspiration
The other week, sitting in my FIT patternmaking class, my professor was telling us a story about standing in line outside Footlocker at 5am to buy the newest release of Air Jordan's for her husband. Apparently these are especially coveted as they're an exact remake of the first pair ever released.
This got me thinking. I have never been that bothered about the must have 'it' item. No doubt this is in part due to a lack of funds for whichever bag or coat or shoe is the object of the world's desire. But more often I think it's been a conscious rejection of what is trendy (a word I detest) in an effort to try and find my own style path. This has had mixed results.
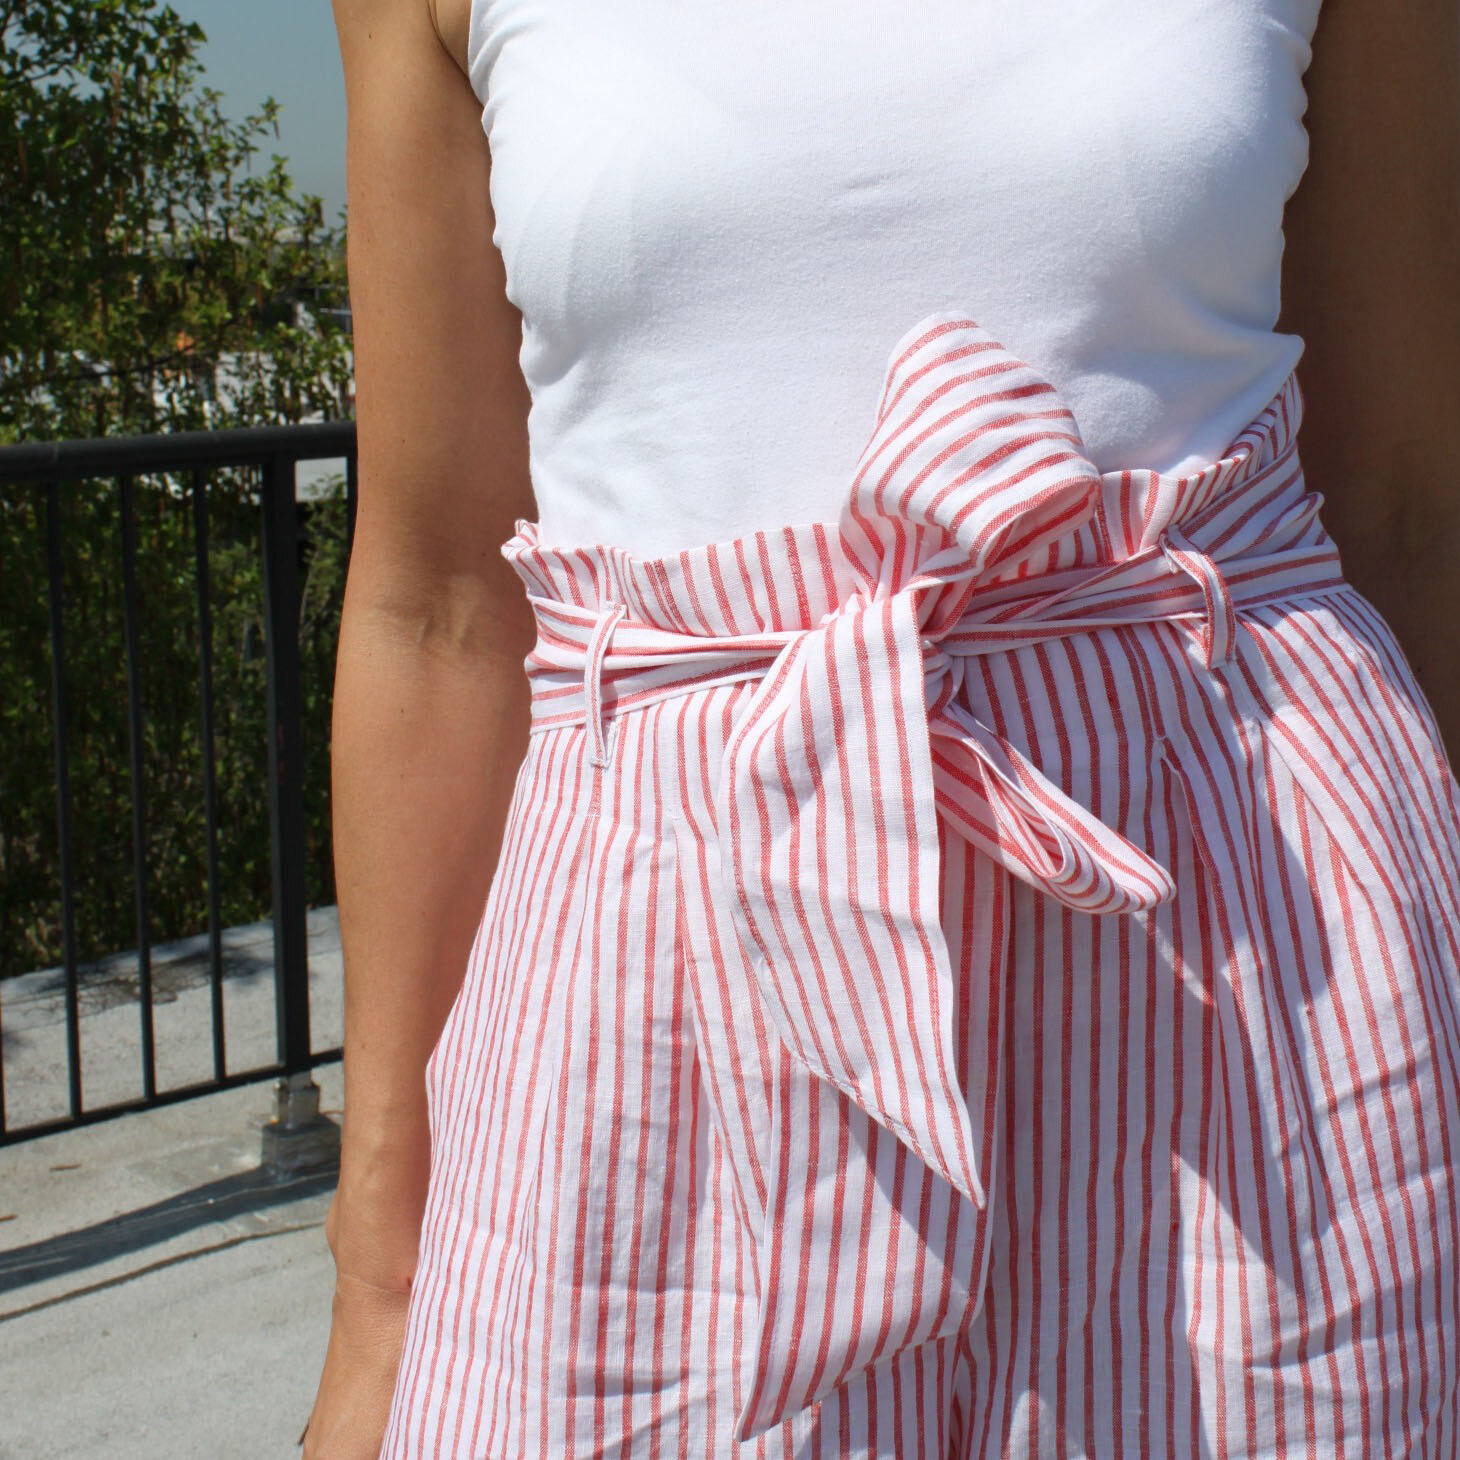
Then The Kamm Pant appeared in my peripheral vision.
High-waisted, cropped, fit and flare, casual, canvas glory pants.
The perfect palette of colours.
The interesting but not jarring pocket and button details.
Oh how I want some.
But I'm not going to buy any. Not just because of the price tag. I absolutely feel there is a place for expensive clothing. If it is beautifully made, will last in terms of style as well as fabric and construction and the cost per wear therefore is favourable, then I would invest. However, for me and the Kamm pants there are some buts. Or, to be more accurate, one butt.
I know without even trying them on that they wouldn't fit me properly. I know, without a doubt, to get the fit right across my bottom and hips, they would be far too big around the waist and the rise would be too short and I'd get all kinds of discomfort in the crotch. This is just the deal with me and RTW trousers.
And that's nothing to say about the fact that I would only JUST fit into the largest size, which annoys me intensely. Why, why, why is high end clothing still so sizest?
So, then I spend a ridiculous amount of time trying to recreate them.
Iteration 1 was OK (I might blog about them if I ever manage to blog regularly again), I didn't love the pattern, the fit wasn't great and the fabric all wrong.

Please forgive the awful allergy eyes.
As with many things in my sewing life, I came across the pattern for these through Lisa at Tessuti Fabrics and Sophie at Ada Spragg. These sewing superheroines can spot a stellar pant pattern at 1,000 yards (or should that be 10,000 miles?). I was totally underwhelmed by New Look 6459 when I looked at the package, but the high waisted fitted over the hips design and perfect amount of ease through the legs felt, well, perfect for my mission.
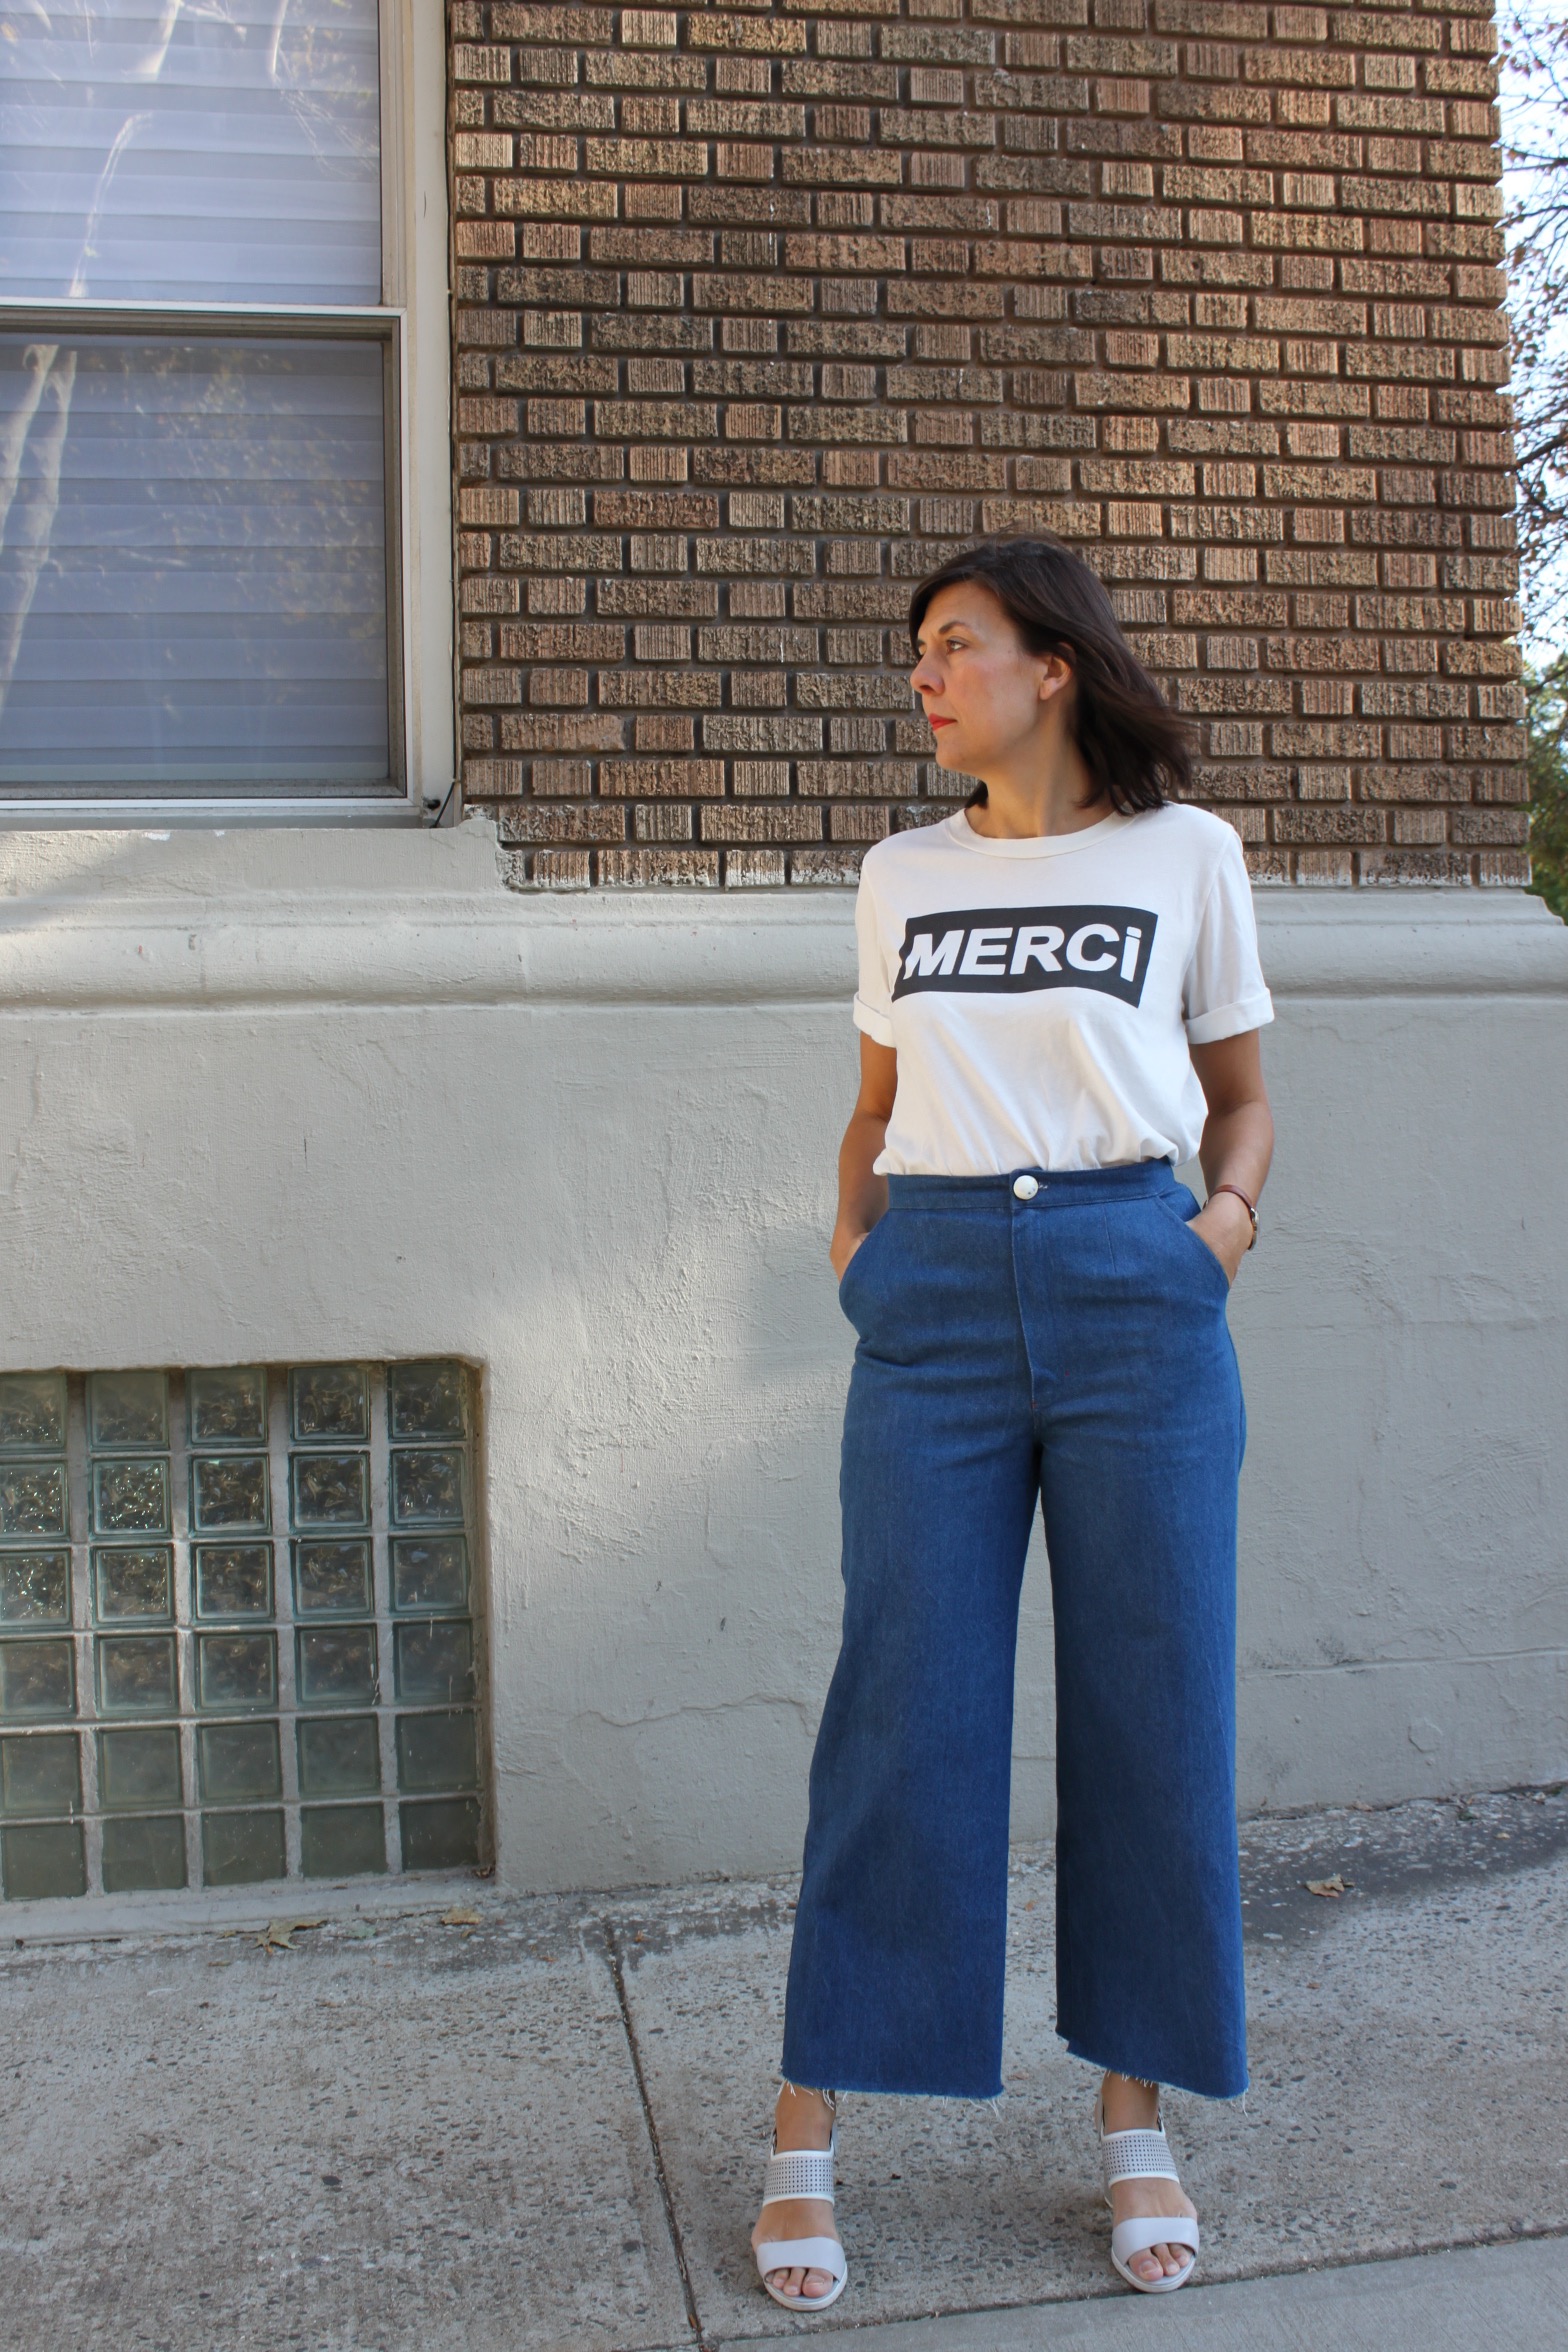
I'm not quite there yet. However, these orange beauties are Charlie does Kamm Pants Iteration 2 and I'm pretty much in love with them. (Let's not talk about the white zip though (see bottom photo) - literally there was no other colour that worked - I think fabric paint might be in order.)

I have some lovely denim I bought from the remnants area at Britex when I went to San Francisco in Feb, and I'm hoping they will become my second pair of these but with a fly front.
This is a verrrry long post, but I should really talk about my top too ... right?

I'll keep it brief:
Choir Boy Sleeve Top.
Inspiration: A raglan bell-sleeve top I also saw in SF at Banana Republic. There are numerous patterns out there that have a similar style of sleeve (this, this and this for starters), but I was really taken with the wider neckline and the smooth silhouette and non-bulky shoulder created by the raglan. So the hunt was on to find a pattern. Obviously there wasn't one that fit my vision. Of course there wasn't.
Pattern: I considered the Sewaholic Belcarra which I've made a couple of times, but I couldn't for the life of me figure out how to lengthen the sleeves. Then I found the Avid Seamstress and her Raglan dress / top. Perfect.
Fabric: A large scale cotton pique from Mood Fabrics. I really wanted something with a lot of body as well as texture.
Size: I cut a size 3 and resisted every urge to grade up at the hips. I always do this, which is totally dumb when the top doesn't come anywhere near my hips. Eye roll.

Alterations:
Lowered the bust dart by 1 inch - I usually use this method.
Added an inch to the hem of the top version.
I really should have adjusted the pattern to accommodate my broad shoulders, but in the end I found I could release the back raglan seam to 1/4" seam allowance (the pattern only allows 3/8" SA) and this solved any tightness across the back
I chose to use a button and rouleau loop instead of a back zip.

Sleeve
The pattern just has regular sleeves so to create the choir boy effect I measured down the underarm seam to my elbow length and cut the pattern piece there - adding half an inch SA before doing so.
I measured the sleeve opening and then used the By Hand London circle skirt app to work out the measurements I would need to create a quarter circle for the bottom part of the sleeve. I wanted the lovely flow of a circle rather than a simple gathered rectangle.
I then slashed and spread the patten piece I created for this, adding 1 1/2 inches in total to add gathers. In the end these don't show so much but it also made it easier to sew the two parts of the sleeve together. I sewed the flared section to the sleeve whilst it was still flat.
And that was that.
I'm thrilled with my new duds. Totally over the moon that I got the fit right and even happier that since I finished these I've made three other things and have three more cut out.
I see a LOT more sewing in my future!
Incidentally, she is no mug my professor, the deal for her standing in line for those Air Jordans was that if she scored a pair he would pay for their next vacation. She did. Although she didn't tell him she did.
I like this woman's style.
See you soon xx